nash1111 Tech Blog
Home
wasmCloudでActorを作る
ゴール
シンプルな Actor を一つ作成すること
Actor とは?
wasmCloud の Actor は Actor Model の Actor を指しています。
しかし、他のアクターを生成することができないアクターモデルの学術的な定義とは少し異なります。
詳細は公式ドキュメントを参照してください。Overview of the Actor Model
Actor の作成と登録
❯ rustup target add wasm32-unknown-unknown
❯ wash new actor firstactor --template-name hello
🔧   Cloning template from repo wasmCloud/project-templates subfolder actor/hello...
🔧   Using template subfolder actor/hello...
🔧   Generating template...
✨   Done! New project created [your path]

Project generated and is located at: [your path]
firstactor/src/lib.rs に"Hello World"とだけ返すコードが生成されています。
use wasmbus_rpc::actor::prelude::*;
use wasmcloud_interface_httpserver::{HttpRequest, HttpResponse, HttpServer, HttpServerReceiver};

#[derive(Debug, Default, Actor, HealthResponder)]
#[services(Actor, HttpServer)]
struct FirstactorActor {}

/// Implementation of the HttpServer capability contract
#[async_trait]
impl HttpServer for FirstactorActor {
    async fn handle_request(&self, _ctx: &Context, _req: &HttpRequest) -> RpcResult<HttpResponse> {
        Ok(HttpResponse::ok("Hello, World!"))
    }
}
firstactor プロジェクトのルートで実行します。
❯ wash build

# _s.wasm が生成されます
❯ ls build/firstactor_s.wasm
build/firstactor_s.wasm
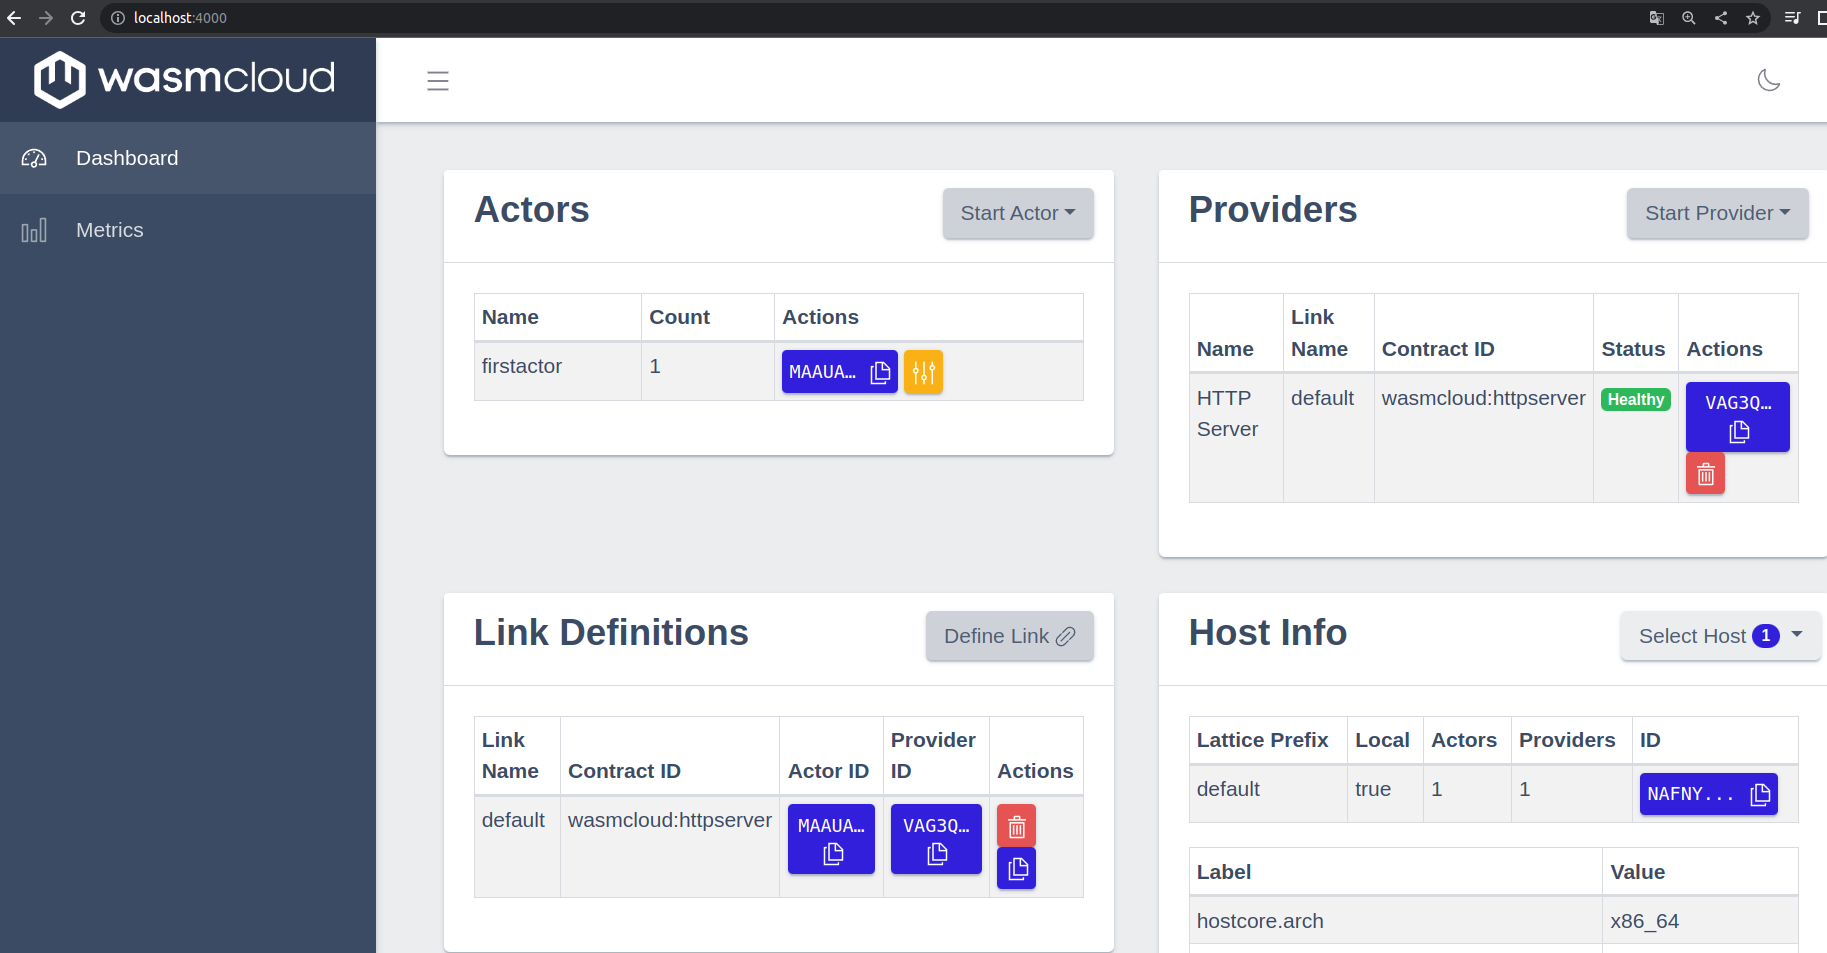
WebUI(localhost:4000)で"Start Actor"を選び"From File"で生成された_s.wasm
をアップロードします。
Provider の作成
WebUI(localhost:4000)で"Start Provider"からデフォルトの設定で一つ作成します。
Link の作成
# PROVIDER_IDを見ます
❯ wash get

# ACTOR_IDを見ます
❯ wash get inventory [host id]

# 環境変数を設定します
❯ export HELLO_ACTOR_ID= [actor id you see above]
❯ export PROVIDER_ID= [provider id you see above]

# Linkをつけます
❯ wash ctl link put ${HELLO_ACTOR_ID} ${PROVIDER_ID} wasmcloud:httpserver address=0.0.0.0:8087
Actor, Provider, Link が Active であることを確認します
テスト
❯ curl localhost:8087
Hello, World!